Thursday, September 12, 2013

MICKEY MOUSE CUPCAKE WRAPPER


My little boy is going to be two this month
His birthday is on 24th n I’m planning his birthday party for the weekend
I’m planning cupcakes with one cake as some of my friends r vegetarian and my son can’t eat gluten or diary I want there to be a variety for guests to choose from
I have a mini cupcake maker and I found cupcake wrappers online for regular sizes and large sizes
So i made mini wrappers by myself
And here is a blank one 
If anyone wants u can print it out on colored paper and paste a sticker of ur favorite character I mean ur kids favorite character and u r good to go
Also here is the cupcake wrapper I made Mickey Mouse theme
you can use the blank cupcakes wrappers as u want but pls use the ones with the mickey mouse and friends for personal use 
if you ope the pages in new windows u can download as pdf
happy cupcaking

Wednesday, September 11, 2013

How to sew a kurutha


How to sew a kurutha
In my previous tutorials I have shown how to make the pattern
http://laucreates.blogspot.in/2013/09/making-pattern-for-kurutha.html 
And how to do the neck
So this is how to do the stitching of the kurtha
When u start first thing u need to do is get all the pieces together
back piece on left one front piece on the right


Preferably near an iron

An iron can make an armatures work look professional

For started take the two front pieces fold twice n stich the front opening

Next fold twice and do the arm holes. You could try free arm sewing but with children’s clothes the arm holes r too small so I usually do it first 

Now take the back piece
With the right side facing in stitch shoulders zig zag or sager the stitches depending on what you have
Your piece looks like this

U can do a stitch around the neck but with such a small garment I don’t usually bother
Now follow the neck tutorial and do the neck
Your piece looks like this

This is where I have gone and done some decoration
This is one of the few times I wished I had those fancy machines which made all those stiches like flowers n swarms n bunny rabbits. Well I don’t know about bunny rabbits I have seen machines which can do flowers n swans hmm buy hey I love my machine
So first I used the stich I used to do button holes started at the end of the right flap of the shirt all around the neck to the end of the other flap
Then I used one of the stiches I use for patchwork just next to it I used a contrasting color just for fun

Now attach the arms
It’s easier if you start in the middle n go
With all the curves in the arm this is what I usually do
Now zigzag 

Then do the side stitch n zigzag
Then u can do both the side openings

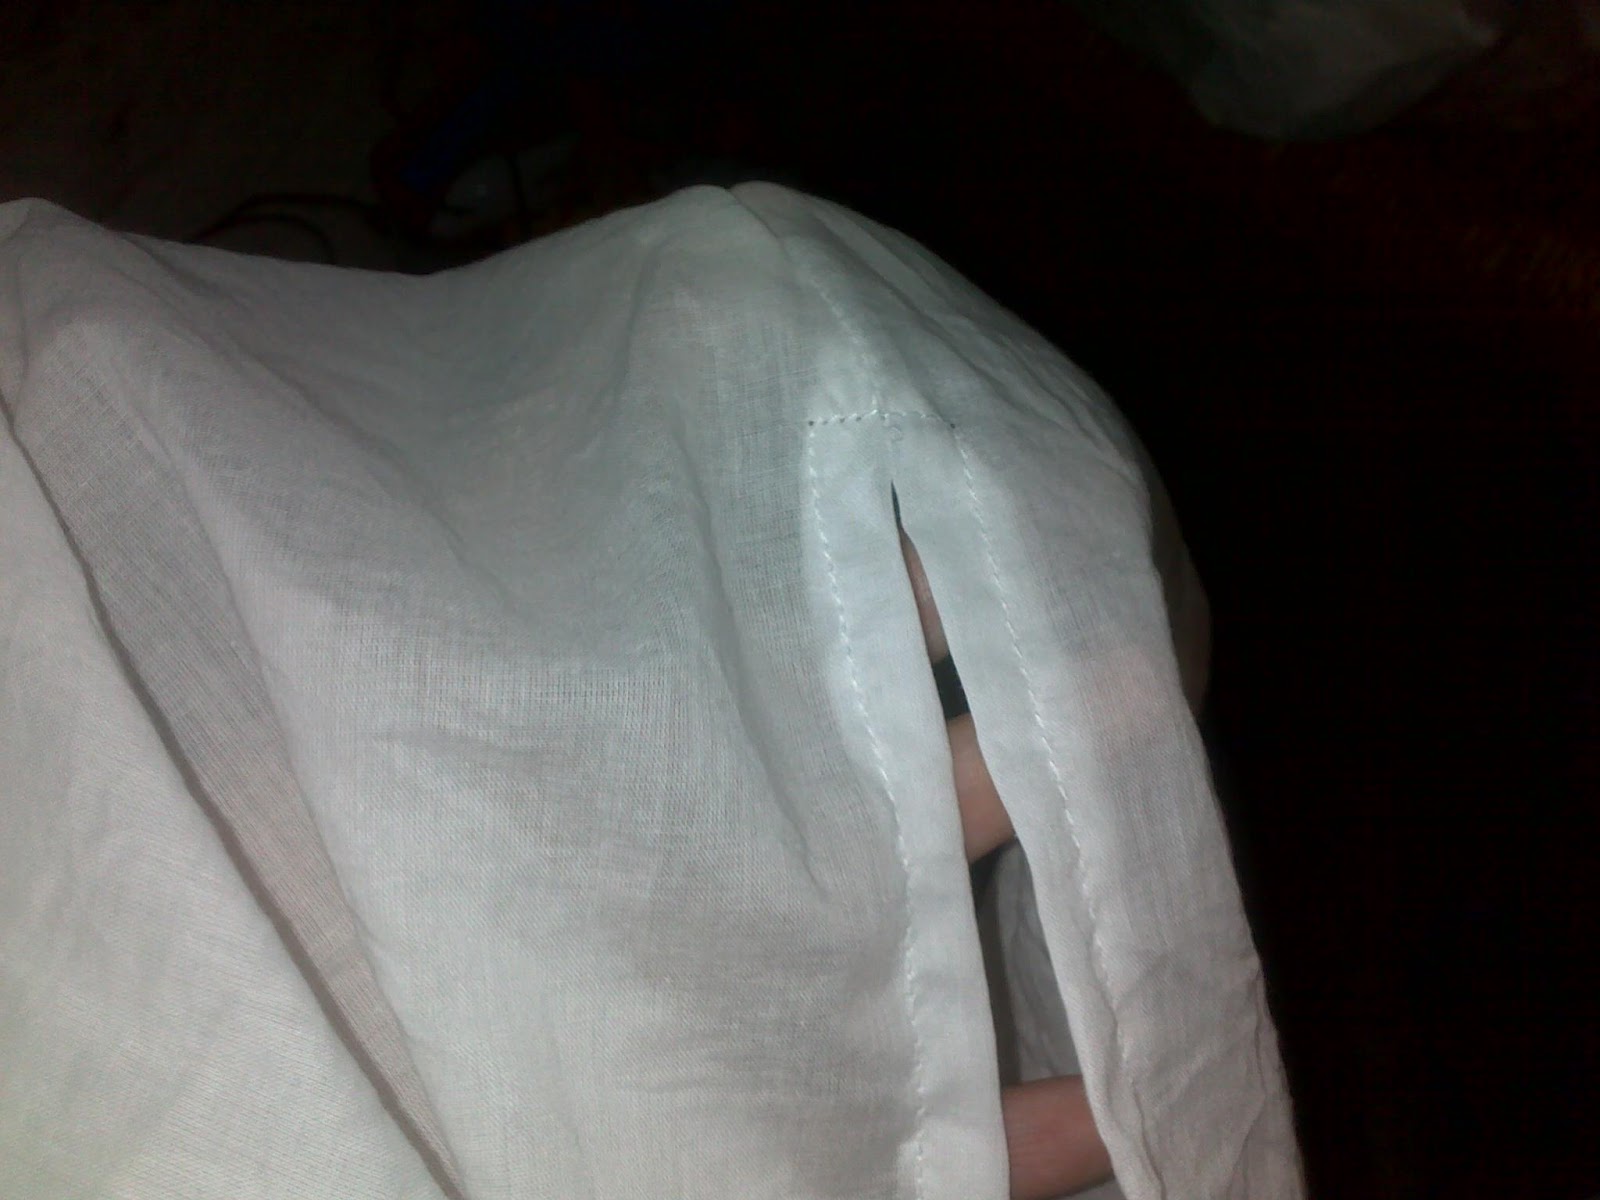
Carefully start at one edge until u come to where the garment is joins put a horizontal stitch here
Now work ur way down

Do both opening on the sides


Now fold twice n iron the hem n stitch ur kurutha is done 

Mark two inch intervals
Do button holes


Open them
Put the buttons 

N ur kurutha is done yayyy

Sunday, September 8, 2013

Stitching a kurutha neck TUTORIAL


Stitching a kurutha neck
This can be a very useful technique
I used to do front and back separately for my other tops
But if the neck is open at front or back this is the best
First you need to cut a strip of cloth like this. DONT TAKE A STRAIGHT PIECE. cut diagonally

If u have two strips join them like this
put two strips together
 
stitch as shown
cut off the excess


should make a straight line when opened

Open and iron
Now this is the neck we r trying to do

Now the strip should be longer than the neck

To start take the edge leave half cm n align with the edge fold this half cm down u should b working on the right side of fabric 


pin down stitch all around till u come to the end cut until half n inch remains at end fold this under n stich
The ends should look like this
Make little nips all along the inside be careful not to cut the thread

Fold this twice under im sorry its a bad pic oops as shown and stitch along the line of folding

The neck is done now it should be like this


Saturday, September 7, 2013

Gluten free chapattis, roti


Gluten free chapattis

As soon as we started weaning my son showed wheat intolerance, even the first day.
I know in the states wheat isn’t given till later but in India this is one of the things that weaning is started on.
They have so many varieties here.
Like dhaliya (pressed wheat), and sooji (semolina) and well wheat flour.
The first time I gave him wheat in two hrs. He was crying, his tummy was bloated and he had diarrhea for 3 days. Suffice to say he wasn’t given wheat at all.
And when he was a baby it wasn’t an issue. Baby foods were easy apple sauce, mashed fruits veggies and then more solid stuff like kichdhi (Indian dish made with dhal and rice to which I added many veggies n sometimes even cooked in chicken stock), and for dessert I made flavored custards with soy milk and corn flour n usually with mangoes or apple puree
He never liked if his food was put in the blender. He liked some roughness to it he preferred if I mashed the food with hand. So by the time he had gotten one year old he could eat cut pieces of fruits n then rice by 18 months without it being crushed
He also started being more interested what we ate. And chapatti was a staple part of our diet. He wanted to eat it so bad. And I wanted to give it to him.
By 18months his autism n hyperactivity had been diagnosed his psychiatrist had mentioned that I put him on a gluten free diet.
So I found this gluten free flour
It’s from bewell. I think it’s the only local brand of flour available in Delhi

I had also tried making chapatti with organ all-purpose flour which didn’t turn out so well. The end product was hard n Nooh wouldn’t touch it. So I left the organ flour for cakes n other bakes. It’s very white so with cakes n stuff u can’t tell that its gluten free.
This is so called soft chapatti Atta
I figured it should live up to the name
It did take a bit of meddling in flour to make it the ideal way meaning the way I like
If you are cooking for someone with gluten sensitivity keep all utensils separate. including cook ware to the scrubbing brush
Makes 5 chapattis
Time 15 mins

Ingredients
1 cup gluten free bewell flour
3/4 cup hot water
1/t tsp. salt
2 tsp. oil
Excess flour for dusting

Take flour


Make a well in the middle
Add oil in it

Sprinkle salt over it

Add water mixing with spoon. Add water as needed. I needed about 3/4 of a cup u might need more or less if u want to make it harder. But I found that it was more difficult to roll that way and this flour requires way more water than normal flour.

When mixture resembles chunks, knead with hands

Make a ball n flatten as shown dust some flour all around it


Dust your board n pin with flour
This will stick more than normal chapatti so be generous
Now roll in to shape
The edges tend to crack n that’s because its gluten free

On a hot pan bake both sides. when bubbles form u know its done.


If u like you can add a little amount of clarified butter aka ghee at the end on top of the chapatti
This would make it smoke a little
I added a half teaspoon of sunflower oil my kid is also lactose intolerant 

Remove from heat
N serve hot
Chapatti will get hard if u make it ahead of time so make as needed.